4 min read
Why TraceAir Is a Game-Changer for Vertical Construction: The Must-Have Tech
The vertical stage of homebuilding can be a logistical headache, fraught with challenges that slow down progress, increase costs, and strain...

4 min read
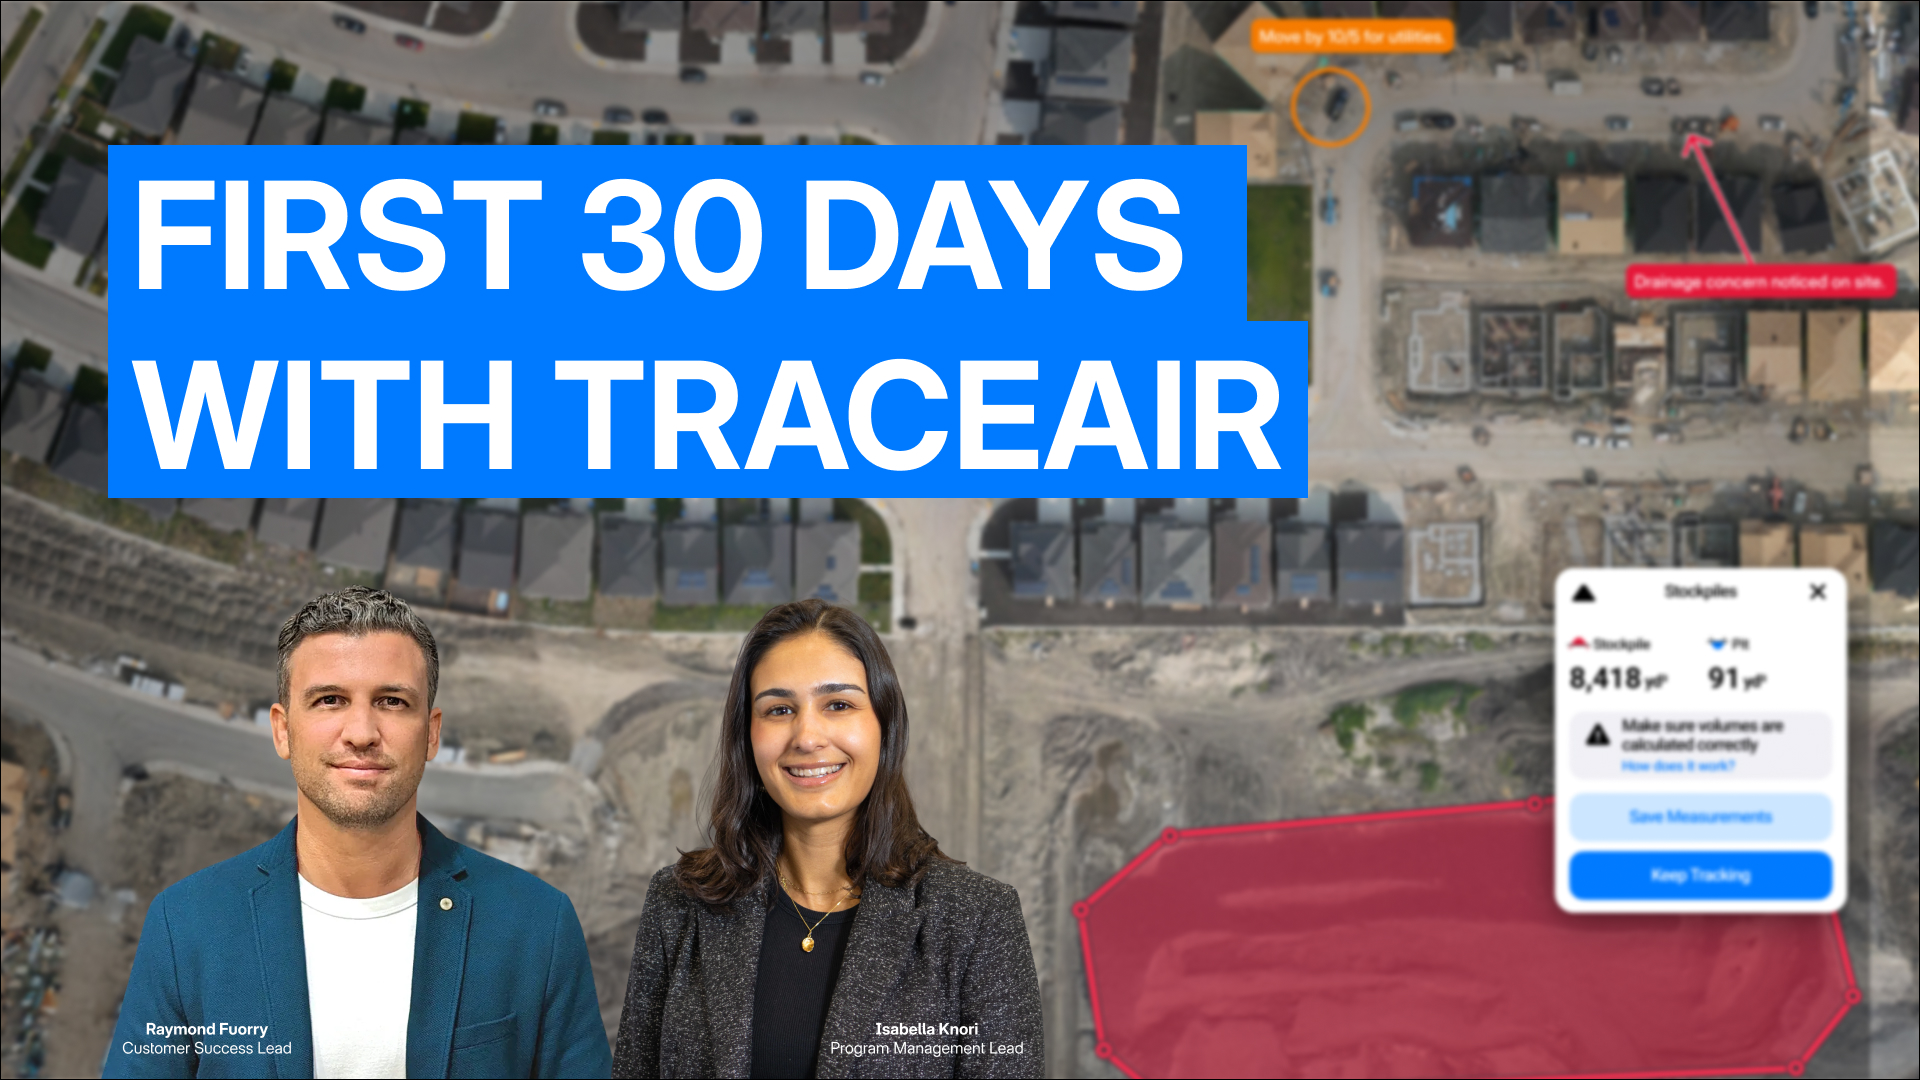
You've made the investment in TraceAir, and now it's time to unlock its full value from day one.
The teams catching costly mistakes, saving windshield time, and keeping trades aligned all follow a similar playbook in their first 30 days. This guide breaks down that playbook week by week, so you can move quickly from setup to measurable results.
Whether you're in active grading, coordinating utility installs, or managing multiple phases across a large site, these four weeks will set your project up for success.
The kickoff call is the single most important step for project success. It's where the TraceAir team learns your site, your milestones, and how your team works. Invite everyone: PMs, superintendents, contractors. When the whole crew understands what's being measured and where to find answers, TraceAir becomes your team's shared field of view, not just another tool.
"The kickoff call is just the most important thing you can do to kick off your project. That is your time to have one-on-one training with your customer success specialist, live answer all your questions, run through the tools." — Isabella Knori, Program Lead, TraceAir
Add all users right away. TraceAir includes unlimited seats—use them. When everyone has access from day one, teams reference the same live map instead of trading screenshots and outdated PDFs.
Upload plan sets. Load current grading plans, utilities, and any other CAD files needed. Create a clean folder structure and add an "Archive" folder for superseded plans. This prevents confusion down the road when revisions pile up.
Position your Pano 360. By default, TraceAir captures panoramas from the center of the site, but they can be placed anywhere. Position it over active grading areas, tricky off-site tie-ins, or important amenities. This becomes a quick "what's happening?" visual that anyone can check, even stakeholders without platform access.
Before week one ends, try two simple tools: stockpile volumes and cross section. These are straight-forward and powerful. The goal isn't perfection—it's proving the workflow is easy and worth coming back to.
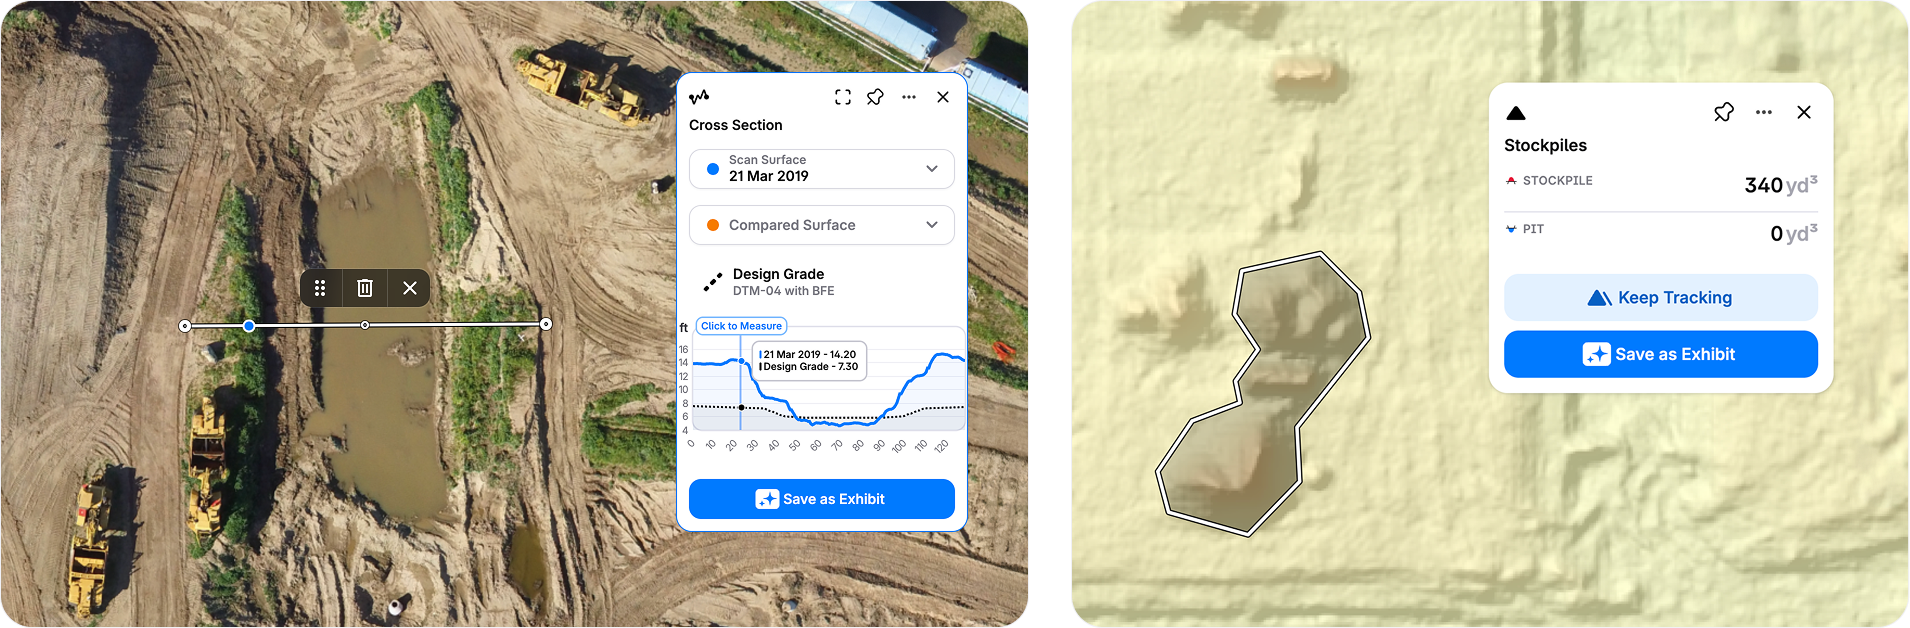
Pro tip: Turn on overlays when measuring. Comparing real-time site conditions to plans is where issues get caught early.
With a second scan in, it's time to move from setup to tracking. This is where TraceAir starts saving serious time.
The Compare Surfaces tab reveals two critical views:
This is the shortcut to answering "What moved?" in 30 seconds instead of 30 minutes.
Here's the move that pays off all year: use Plan & Track to create saved quantities for the whole site or key phases. Draw the boundary once, save it, and those cut/fill calculations update automatically with every new scan. Set it and forget it.
No more redrawing. No more guessing. Just turn on the layer when updated numbers are needed. From here, Weekly Ops gets sharper: “What moved?” becomes a 30-second answer. Payment verification gets cleaner. And when someone asks “Are we still on balance?” you’re not pulling a survey crew off another job to find out.
By week three, you can start visually communicating by turning measurements into stories the whole team understands.
Exhibits save measurements, add annotations, and create visual briefings to share in land meetings or with trade partners.
Here’s a common workflow to follow: Color-code utilities (installed vs. next up). Add arrows, label segments, note completion dates. Save the exhibit and share the link. Now anyone on the project can open it and understand what’s done and what’s next.
Exhibits can stay updated as scans come in, or new ones can track specific milestones. Either way, it keeps everyone aligned without endless email chains.
This is when overlays really pay off. When plan linework doesn't match the current surface, say trenching is drifting ten feet south of the easement, it shows up immediately. Screenshot it, send it to the contractor, and redirect before it becomes rework.
Pro tip: Use the secure link for team members with platform access, or hit the Snip Screen button for a high-quality PNG to text or email to anyone.
Now it's time to bring TraceAir on-site. And since the mobile experience mirrors the desktop, there’s no need for a separate app.
When walking the site, hit the triangle button to geolocate. You'll see exactly where you are on the map with plans overlaid. It's great for verifying layout, checking offsets, or orienting on complex sites.
Complete punch lists in real time: Use Markup & Save Point to drop a pin, snap a photo, and add notes. The office sees it instantly with full location context. No more mystery photos or vague descriptions.
The Time Machine (the blue timeline bar under scans) lets you scroll through the project visually. When did that pond start filling in? When did grading reach this phase? See it at a glance instead of hunting through folders.
This is also when surface files (TIN models) can be exported for specific dates if engineers need them in design software. Just reach out to your Customer Success team for exports.
After the first month, most teams have moved from "learning the platform" to seeing measurable ROI—less rework, faster decisions, better coordination across trades. But the kickoff call isn't one-and-done.
The TraceAir team is here to strategically advise throughout your project, because every site is different. Need training for new team members? Want to explore a specific workflow? Have a tricky site condition to analyze? Just reach out.
Every project has a dedicated support team. Email, call, or hit that support button in the platform.
Ready to see these workflows in action? Watch the full webinar where TraceAir’s Isabella Knori and Ray Fuorry walk through platform features, answer live questions, and share more pro tips from the field.
4 min read
The vertical stage of homebuilding can be a logistical headache, fraught with challenges that slow down progress, increase costs, and strain...
3 min read
Picture a busy project site during land development: dump trucks are hauling dirt around the site, crews are installing utilities, concrete...
4 min read
The variety of features available on the TraceAir platform truly empowers construction project teams to make timely and well-informed decisions and...